Limit access to my camera and microphone for better security and privacy
Written by Tony Demeulemeester, Co-founder & COO @ Eli
January 21, 2026 · Updated January 23, 2026 · 5 min read
Ready to engage your teams?
Create custom challenges that connect employees to your mission and drive real behavioral change.
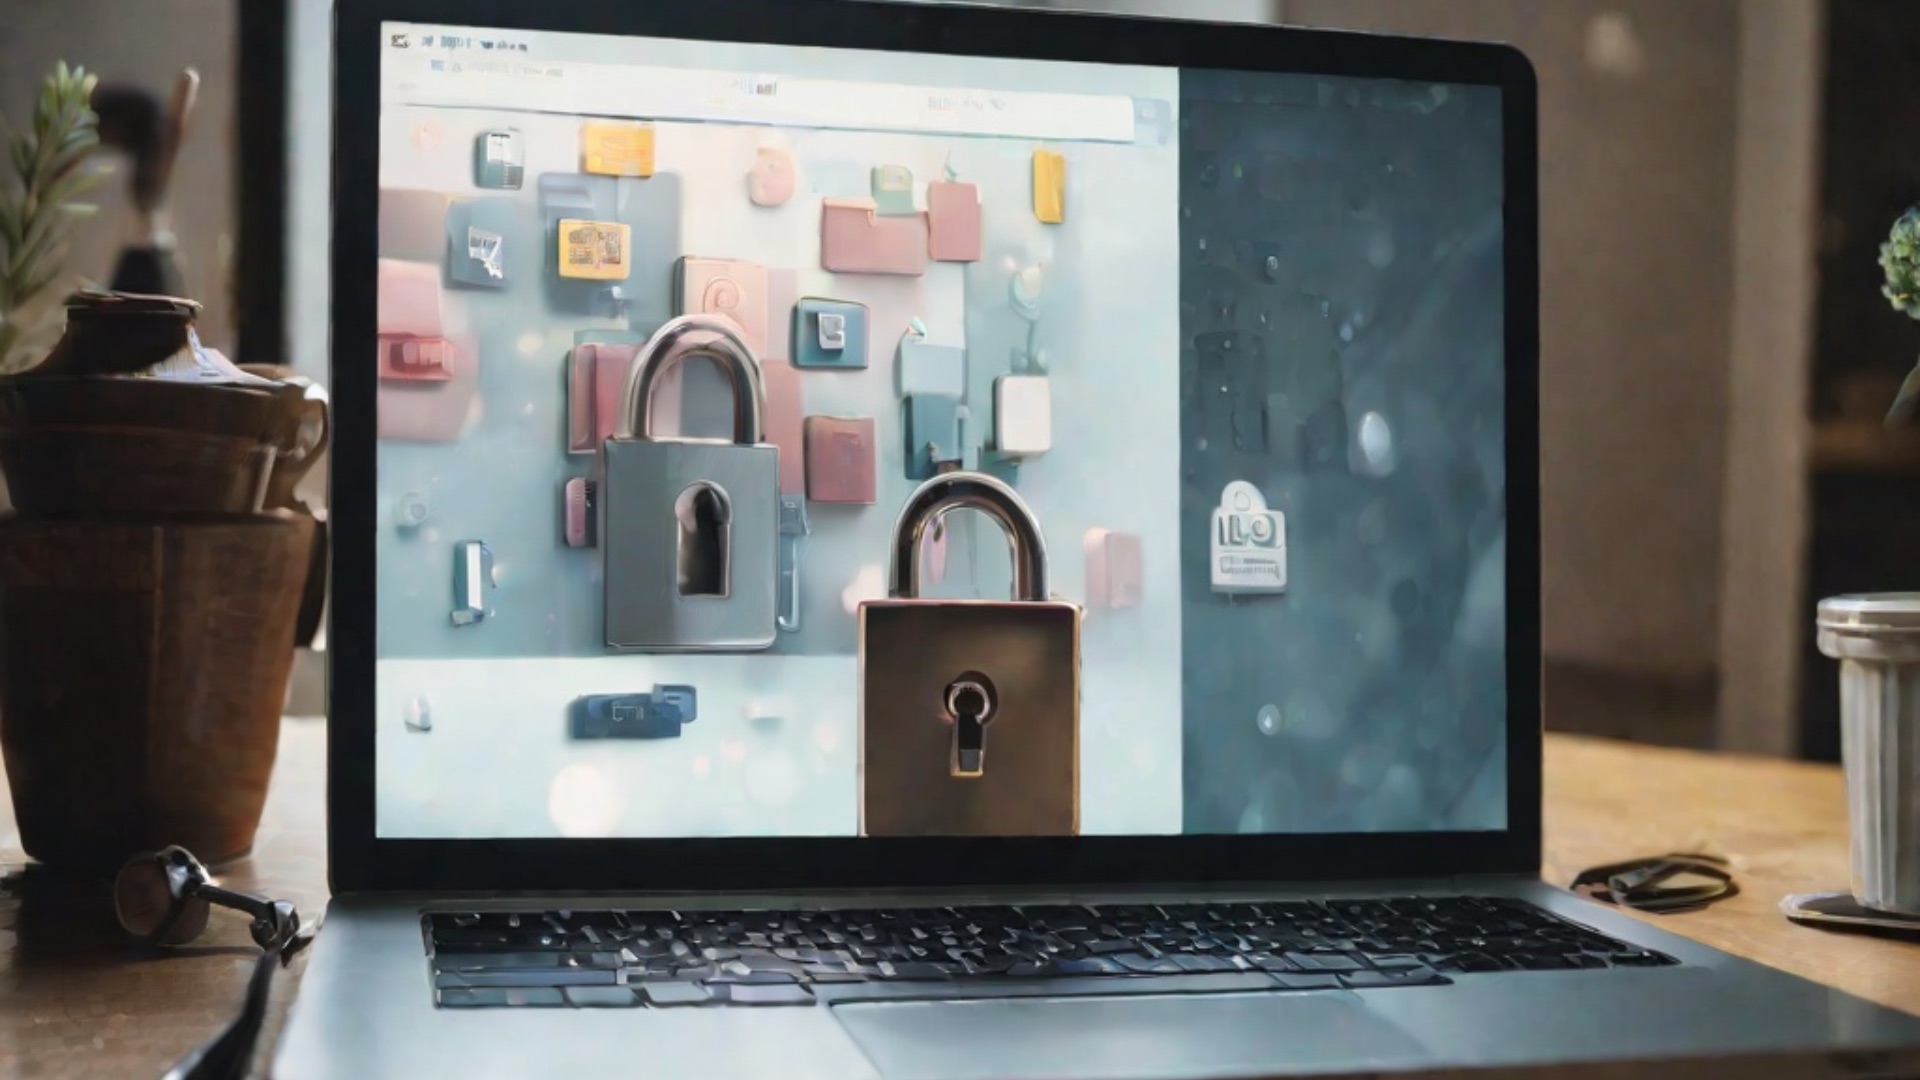
Many apps request access to the camera and microphone on our devices to work fully. However, it is essential to control this access to protect your privacy and reduce the risk of unwanted surveillance. By disabling permissions for apps that don’t really need them, you keep control over your private life and avoid the risk of “surprise videos” or unwanted listening. This guide explains why and how to manage camera and microphone permissions on your different devices.
Why limit access to the camera and microphone?
- Protection of privacy : Granting permissions without paying attention can expose your private life by potentially allowing apps to record you without your knowledge. Some malicious apps can activate the camera or microphone without any notification, which creates a risk of non‑consensual surveillance.
- Enhanced security : By limiting access, you reduce the chances that your personal or professional data will be captured without authorization. The fewer apps have access to your camera and microphone, the less exposed you are to the risk of your device being hacked.
- Control and peace of mind : By disabling unnecessary permissions, you avoid accidental activation of the camera or microphone and stay in control of the information you share with apps.
How to manage camera and microphone access on different devices
Limiting access to the camera and microphone is a simple step, but the process varies depending on the operating system. Here’s how to proceed on the most common platforms: Android, iOS, Windows and macOS.
On Android: check and limit app permissions
- Open privacy settings : Open “Settings”, then go to the “Privacy” section or “Apps and notifications”, depending on your phone model.
- Manage camera and microphone permissions : Select “App permissions” and go to the “Camera” and “Microphone” sections. Here you can see which apps have access to these features.
- Disable unnecessary access : For each app that doesn’t need the camera or microphone, choose “Deny”. If you’re unsure, you can always adjust the permissions later.
- Additional tip : For stronger security, regularly check these settings to avoid permissions being granted by accident.
On iOS: keep control over your apps
- Open privacy settings : Open “Settings” then go to “Privacy & Security”.
- Manage camera and microphone permissions : Select “Camera” then “Microphone” to see the list of apps that have access to these features.
- Disable access : If an app doesn’t need access to your camera or microphone, turn the switch off. You can also adjust these settings at any time.
- Monitoring alert : Since recent versions of iOS, a small light appears in the top‑right corner of the screen when an app is using your camera (green dot) or microphone (orange dot), helping you detect any unwanted use.
On Windows: adjust permissions for greater privacy
- Open privacy settings : Click the “Start” menu, then go to “Settings” and “Privacy”.
- Limit camera and microphone access : In the left‑hand menu, choose “Camera” and “Microphone”. Here you’ll see the list of apps that can access them.
- Disable access for certain apps : Turn off access for non‑essential apps or those that shouldn’t be able to use these features.
- Additional tip : Windows also lets you limit access for desktop apps, in addition to Microsoft Store apps. This can be useful for software you don’t use regularly.
On macOS: review and control which apps access your camera and microphone
- Open System Preferences : Click the Apple icon, then select “System Preferences” and “Security & Privacy”.
- Control camera and microphone access : Go to the “Privacy” tab, then select “Camera” and “Microphone” to see which apps have access.
- Disable unnecessary permissions : Uncheck the apps that don’t need access, especially those you don’t use frequently.
- Privacy tip : macOS also displays indicator lights when the camera or microphone are active, alerting you in case of unsolicited use.
Limit access or disable completely: which option should you choose?
- Limit access to stay in control : If you need to use certain apps with your camera or microphone from time to time, you can restrict access but allow it occasionally. This lets you keep using essential features without risking constant exposure.
- Disable completely for maximum security : In situations where the camera and microphone are not needed, disable access entirely. For example, for apps you only use in text‑only mode, it’s best to remove all permissions.
- Stay in control by re‑enabling when needed : Choosing to limit access makes it easy to re‑enable permissions for a specific app when you need it occasionally, while preserving security and privacy the rest of the time.
Conclusion
Taking the time to limit access to the camera and microphone is a simple way to protect your privacy and reduce the risk of your devices being used in ways you don’t want. By disabling permissions for apps that don’t really need them, you stay in control and secure your personal space. Cleaning up your permissions gives you greater peace of mind while ensuring a safer and more responsible use of technology.